
Today, we’re taking a look at a more serious fiber laser engraver – the ComMarker Titan 1, a 60,100W or a 200W JPT M7 MOPA fiber laser beast! I will put this machine through a series of practical tests, engraving some really deep engravings, and show you how to get the most out of your machine. I will also tell you what are the advantages of having a more powerful fiber laser. We’ll also explore two essential accessories for your laser engraving business: the 2D/XY table and the flexible fixture, which are especially useful for engraving irregularly shaped objects.
Table of Contents
*The links on this website can be affiliate links. I earn a small commission at no extra cost to you. When you buy through these links you will support this website, which helps me to run this website(which cost money and a TON of time) and provide all these extensive reviews and information to you for free, without any paid membership.
Quick Overview of The ComMarker Titan 1 100W JPT MOPA Fiber Laser
The ComMarker Titan 1 (Official Store, Amazon) is a split-type JPT MOPA fiber laser, available in power outputs of up to 200W, making it a powerful tool. Here, I have the 100W version, which offers a great balance between power and versatility.

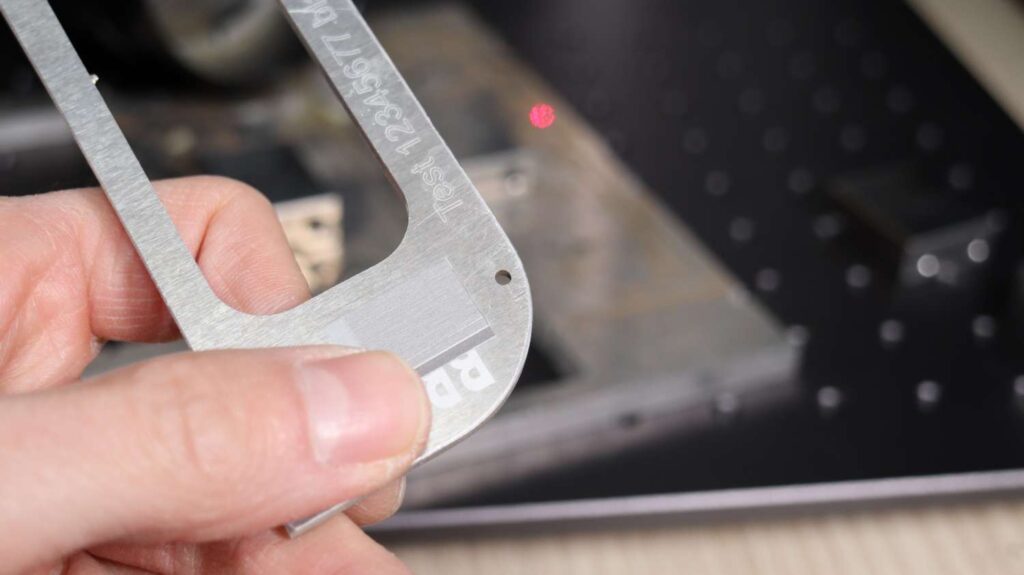
The front panel has a simple and intuitive design, featuring a power button, a keylock for securing the machine, Z-axis electric focus adjustment buttons, and an emergency stop switch. On top of the unit, there are two sturdy handles for easy transport. Additionally, you can manually adjust the focus using a large knob located on top of the tower. The ComMarker Titan 1 can be focused using the included ruler or the two laser pointers mounted underneath the galvo head.
The base plate is thick and sturdy, but if you plan to cut materials directly on it, be cautious—the mounting holes go all the way through, which could damage your desk underneath. To prevent this, place a metal plate underneath when cutting.
On the rear side, you’ll find a grounding terminal and connections for the Z-axis motor, enclosure, rotary attachment, foot pedal, power input, and USB data connection. The cable harness connecting the galvo head is quite long, allowing flexibility in positioning the components.

The machine comes with a sample material pack, two lenses (110mm and 200mm), a foot pedal, and high-quality safety goggles rated for UV and infrared light. These are especially important since deep and powerful engravings in metal can generate UV rays too.

Comparing 60W and 100W JPT M7 Fiber Laser Sources
My ComMarker Titan 1 features a 100W JPT MOPA fiber laser source (YFDLP-E2-100-M7-M-R), although a 200-watt version is also available for those needing even more cutting power. Compared to the 60-watt JPT sources in my previous machines like the ComMarker B4 (YFDLP-E-60-M7-M-R), ComMarker B6 (YFDLP-E2-60-M7-M-R) and Monport GA60 (YFDLP-E2-60-M7-M-R) (click to read our full reviews), the Titan 1 maintains similar specifications but with significantly higher power output.


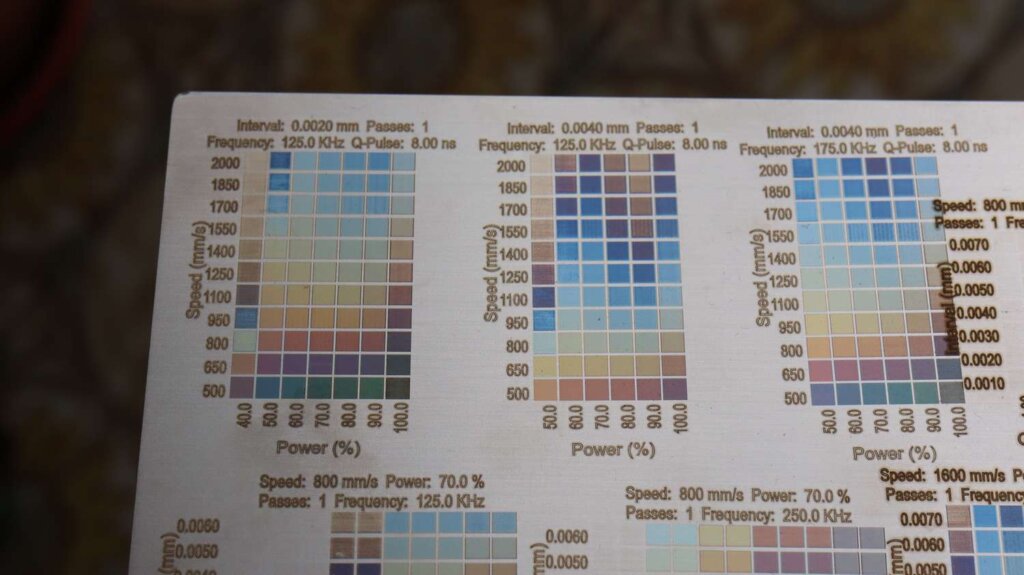
Looking at the pulse waveform, we can see that it achieves greater pulse power, which is expected. The key difference is the cutoff frequency range. The 100W version has a much higher cutoff frequency for each pulse width value. To maximize optical power output, you must use a frequency at or above the cutoff frequency for the selected pulse width. If the frequency is set too low, the laser won’t output its full power, even at a 100% power setting.

Deep 3D Engravings In Brass – The effect of frequency parameter
To demonstrate the above fact, I performed a deep 3D engraving in brass, using the same settings as my previous tests with 60-watt MOPA fiber lasers. Despite using a 100-watt machine, the engraving depth remained the same at 1.3mm. This happened because the 100-watt machine has a higher cutoff frequency and was effectively running at only around 60 watts of power.


When I increased the engraving frequency to 70 kHz and ran the test again, the machine was able to output its full power, resulting in a significantly improved engraving. The end result was half a millimeter deeper, measuring 1.8mm deep. This really shows that not all parameters can yield good results. Each type of laser requires its own parameters to achieve maximum power output.
Can 100W Fiber Laser Do Everything Lower Powered Fiber Can Do?
The ComMarker Titan 1 is a powerful machine that can do everything lower-powered machines can do. I’ve reviewed several 60-watt machines ComMarker B4, ComMarker B6 and Monport GA60 (click to read our full reviews) and used them to engrave anodized aluminum in white, black, and gray, create a full spectrum of colors on stainless steel using annealing, remove rust, engrave plastics like black acrylic, and mark consumer items like books and power banks. I’ve also used fiber lasers for precision cutting of stainless steel sheets, quick cutting of aluminum business cards, PCB etching, and even drilling holes.
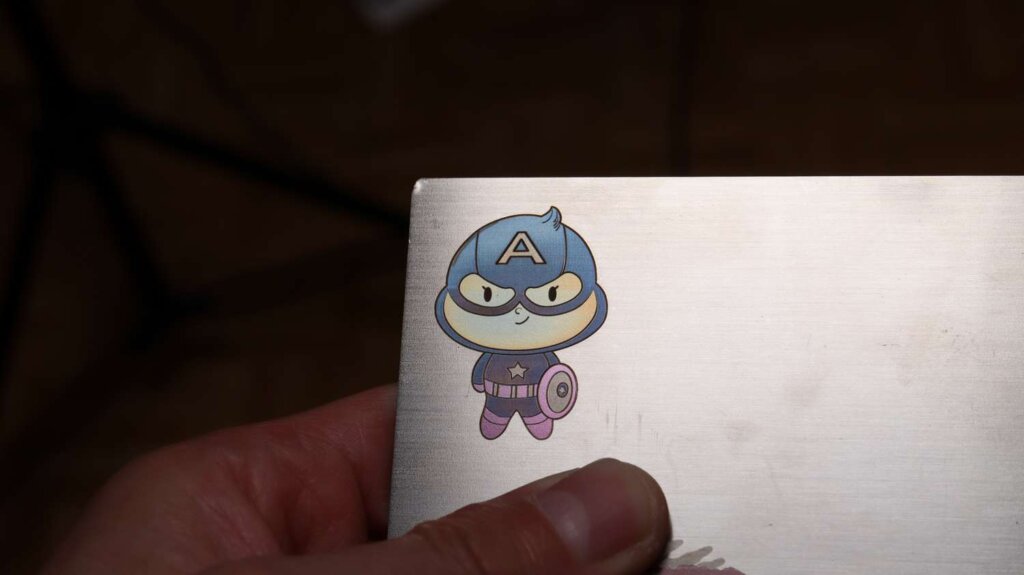


All these tasks can be easily accomplished with the ComMarker Titan 1 as well, so rather than repeating the same demonstrations, I’ll focus on where a more powerful fiber laser really stands out.
The Benefits Of More Power
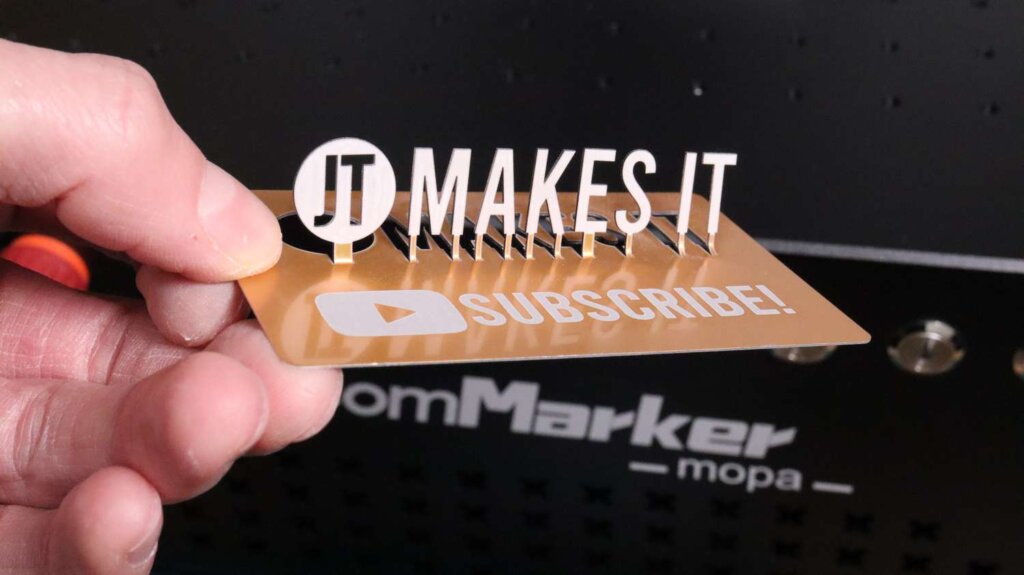
One major advantage of a higher-powered laser is the ability to use larger area lenses for more demanding jobs, which is crucial for tasks like cutting metal sheets. Here, I cut a relatively large enclosure from a 0.4mm thick brass sheet. The machine cut through it quickly in less than 4 passes while using some wobble (0.1/0.05mm) and even scored bending lines with ease. Lower-powered machines struggle with laser cutting when using larger lenses because the power density drops significantly—the larger the area, the bigger the laser spot, resulting in lower energy concentration and weaker cutting performance.


Small vs large area lens
To illustrate this effect, I engraved small text and an interval test pattern using both a 110mm and 200mm lens. Looking at the small text, the ComMarker Titan 1 delivered incredible detail, even at extremely high speeds. At 1000mm/s, the engraving remained sharp, and at 3000mm/s, the finer details were still impressive given the lightning-fast speed at which it was engraved. The laser spot size for the 200mm lens is around 70 microns, while the 110mm lens produces a spot size of about 50 microns. Since the test was conducted using the same power settings, the laser spot would be even smaller with the 110mm lens.


Next, I drilled a hole into a 3mm thick aluminum sheet to showcase another advantage of larger area lenses—the increased focal depth. A larger working area lens allows the laser to stay in focus over a longer distance, which is extremely useful for engraving curved surfaces or achieving deep engravings without constant focus adjustments. The hole was drilled at high speed using multiple passes, and while it was slightly smaller at the bottom, the overall result was excellent.

While working with aluminum, I also tested different engraving effects. Weaker lasers can easily achieve white engravings, but they often struggle to produce dark engravings on raw aluminum. However, this was no issue for the 100-watt ComMarker Titan 1.

Deep Engravings In Stone
Next, I engraved a 3D sliced design into stone. One cool thing I like to do is to add a mask to the depth map image, so the result appears like a crack in the stone. You just need to search the internet for images of cracks. The entire engraving, using only 64 passes, took just 12 minutes at 90% power with no issues. The cooling fans were running, but the machine remained surprisingly quiet—unlike some other models I’ve tested. The final result was stunning, with a depth of 2mm in such a short time. Letting the machine run longer would achieve an even deeper engraving. When engraved into natural stone, the effect is even more striking.


High Speed Engraving Test – 15000mm/s!
The ComMarker Titan 1 boasts engraving speeds of up to 15,000mm/s, so I tested this by engraving a large photo (195mm square) onto marking paper at full speed. The results were incredible—it completed the entire photo in under two minutes while maintaining an astonishing level of detail. I was blown away!


Another advantage of a more powerful fiber laser is the ability to engrave at very high speeds without running out of power. For instance, I engraved this dog tag at the same speed I usually use for anodized aluminum, but with the ComMarker Titan 1, I was able to significantly increase the speed while maintaining excellent engraving quality (GIGI). The whole tag was engraved in 2 seconds! This extra speed is extremely useful when working on large batches.


Essential Accessories For Running A Small Business
ComMarker 2D/XY Workbench
Speaking of engraving large batches, let’s talk about a must-have accessory to streamline your workflow—the ComMarker 2D/XY workbench table. This is a large, sturdy table with two threaded screws for easy adjustments along the X and Y axes. It’s especially useful when working with positioning jigs that don’t allow for free adjustment.


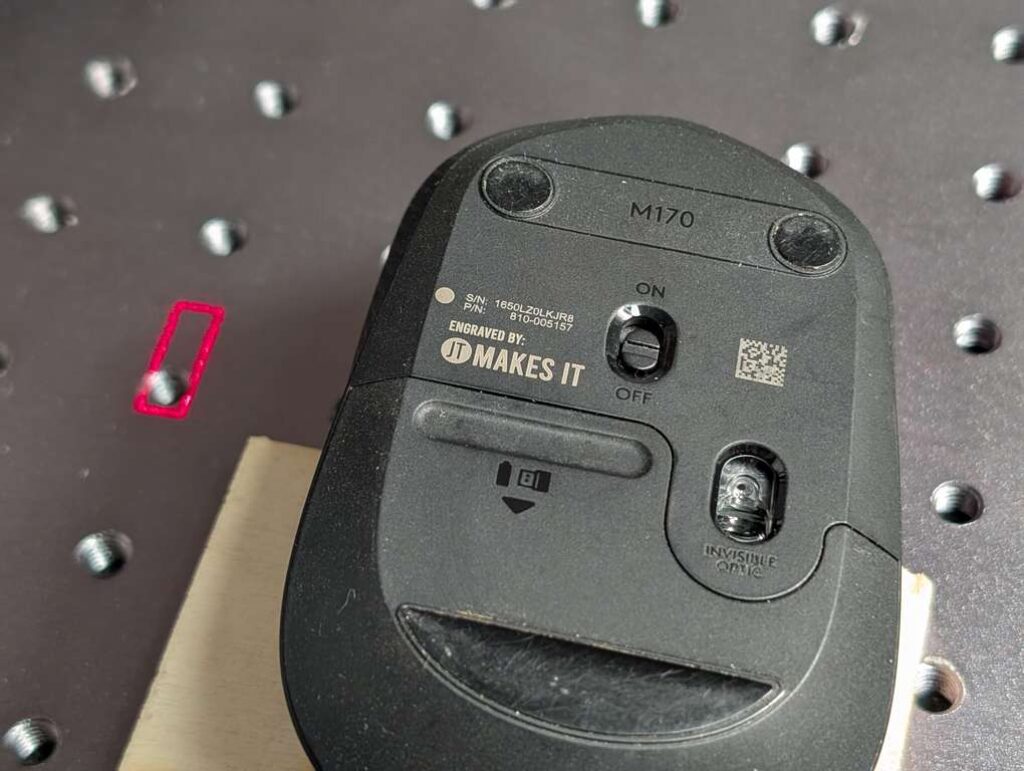
Let me show you an example. To make it more interesting, I will use Lightburn’s variable text feature. This feature allows for automatic incrementation of serial numbers or date and time stamps in decimal, or even in QR code format. I will also connect the foot pedal which came together with the machine.

To set up the X-Y table, simply attach it to your laser bed using screws. This allows you to adjust engraving positions using the knobs rather than making manual adjustments in software, which is both faster and more precise. Once positioned, just press the foot pedal to engrave the first part. Then, swap in the next piece, and the serial number automatically increments. This setup makes batch engraving significantly more efficient.
ComMarker Flexible Fixture
And finally, my favorite accessory—the ComMarker Flexible Fixture. This tool is incredibly useful for engraving one-offs and small batches of irregularly shaped objects. It features multiple spring-loaded pins that lock in place with a lever, allowing you to secure objects in almost any position.

For example, if I need to engrave the handle of a clamp, I can easily position it in the flexible fixture, ensuring it stays securely in place. Then I just needed to slide it under the laser, and I can already start engraving. The result is perfect thanks to the clamp being level. This setup is ready in seconds, compared to the hassle of creating a custom jig, which can be tedious and impractical for one-offs or small batches.


It is a great way to quickly position all sorts of objects. Here I engraved a pocket knife for a friend using a black annealing technique. Pocket knifes have downward tilting blades (due to sharpening process) and it is always difficult to position them leveled for engraving. It looks amazing and makes an awesome customized gift!

Conclusion
If you decide to buy the ComMarker Titan 1, you can use my affiliate purchase link and a 5% off discount code (“jtmakesit“) as a thank you for reading this article! I earn a small commission at no extra cost to you, which helps me to run this website and make valuable reviews!

This post was written by JT Makes It.
JT Makes It is an engineer, hobbyist, and DIY-er armed with a Master’s degree in Electrical Engineering and over a decade of professional experience in the industry. From an early age, JT Makes It was pushed by an insatiable curiosity, spending countless hours disassembling, understanding, improving, and creating various gadgets and products. This lifelong passion led to a broad spectrum of technical expertise ranging from electronics, woodworking, metalworking, and CNC machinery, with a particular focus on laser engravers.
For the past 9 years, he has shared his expertise through engaging videos on his YouTube channel. With the last three years dedicated to scrutinizing and testing laser engravers, he also created this website and emerged as a recognized authority in the field. His expertise extends across the spectrum of laser technologies, ranging from diode lasers, CO2 lasers, and fiber lasers, paying attention to details and providing practical insights.
With JT Makes It, expect a blend of technical expertise, backed with hands-on experience, and a genuine passion for innovation and creation, making him a trusted source in the realm of DIY and laser engraving enthusiasts alike.
*The links on this website can be affiliate links. I earn a small commission at no extra cost to you. When you buy through these links you will support this website, which helps me to run this website(which cost money and a TON of time) and provide all these extensive reviews and information to you for free, without any paid membership.
8 responses to “ComMarker Titan 1 Review – A Seriously Powerful JPT MOPA Fiber Laser!”

I purchased the 200w, but I don’t I have the setup correct, as the power is very weak. Are you to help me get this set up right??
What are your settings?
is the 200 watts and 15000 speed realistic for large batch engravings?
Depends on the material, but it should do it.
Good day!
At the beginning of your review you wrote that Titan 1 has Z-axis electric focus adjustment buttons.
The problem is I keep on asking commarker via email if Z-axis is electric and motorized? And they keep on telling me no. They also say its electric focusing.
Doesnt it mean that Z-axis is electric itself? Do we talk about different things?
Please explain if you know.It has electric movement for Z axis, but it does not have autofocus, maybe they thought you were asking for autofocus.
Is worth to buy the 60w as a starter? Is a good choise or batteria to go with b6 60w?
Is this more durable?
Thank you!Both are good. Titan is more versatile for bigger lenses and attachments

Leave a Reply